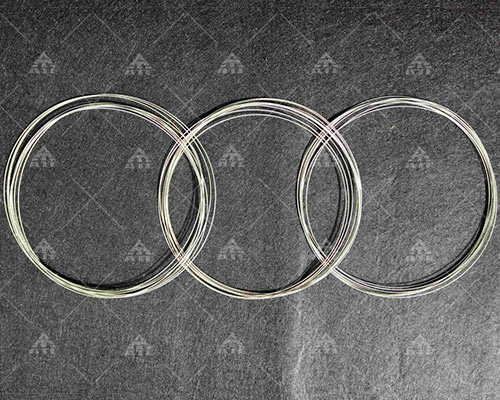
Diamond wire ring cutting steps
Now, let’s take a deep understanding of the step -by -step process of using the diamond cutting lens:
Step 1: Fixed lens:
Carefully position the lens and fix it on the cut surface to ensure that it keeps stable during the entire cutting process. Use a clip or other appropriate methods to firmly fix the lens.
Step 2: Start cutting::
Open the diamond ring saw and slowly put the blade on the marked cutting line. Avoid excessive pressure, because it may cause the lens to break or break.
Step 3: Water cooling:
Continuously monitor the water -cooled system during the cutting process to ensure that the water flow on the blade and the lens is constant. This helps minimize the accumulation of heat and prevent the lens from damaging the lens due to overheating.
Step 4: Follow the cut line:
Carefully follow the marked cut line while maintaining a stable and stable cutting action. Take your time and make some small adjustments. If necessary, to achieve the required cutting effect.
Step 5: Clean and check:
After the cutting is completed, remove the lens from the surface of the cutting and clean it thoroughly to remove any debris or residues. Check the smoothness and accuracy of the cutting edges. If necessary, use fine granular sandpaper or polishing tool to refine the edges.


